Quick Rise Yeast
Nutritional Values
How Quick Rise Yeast Works
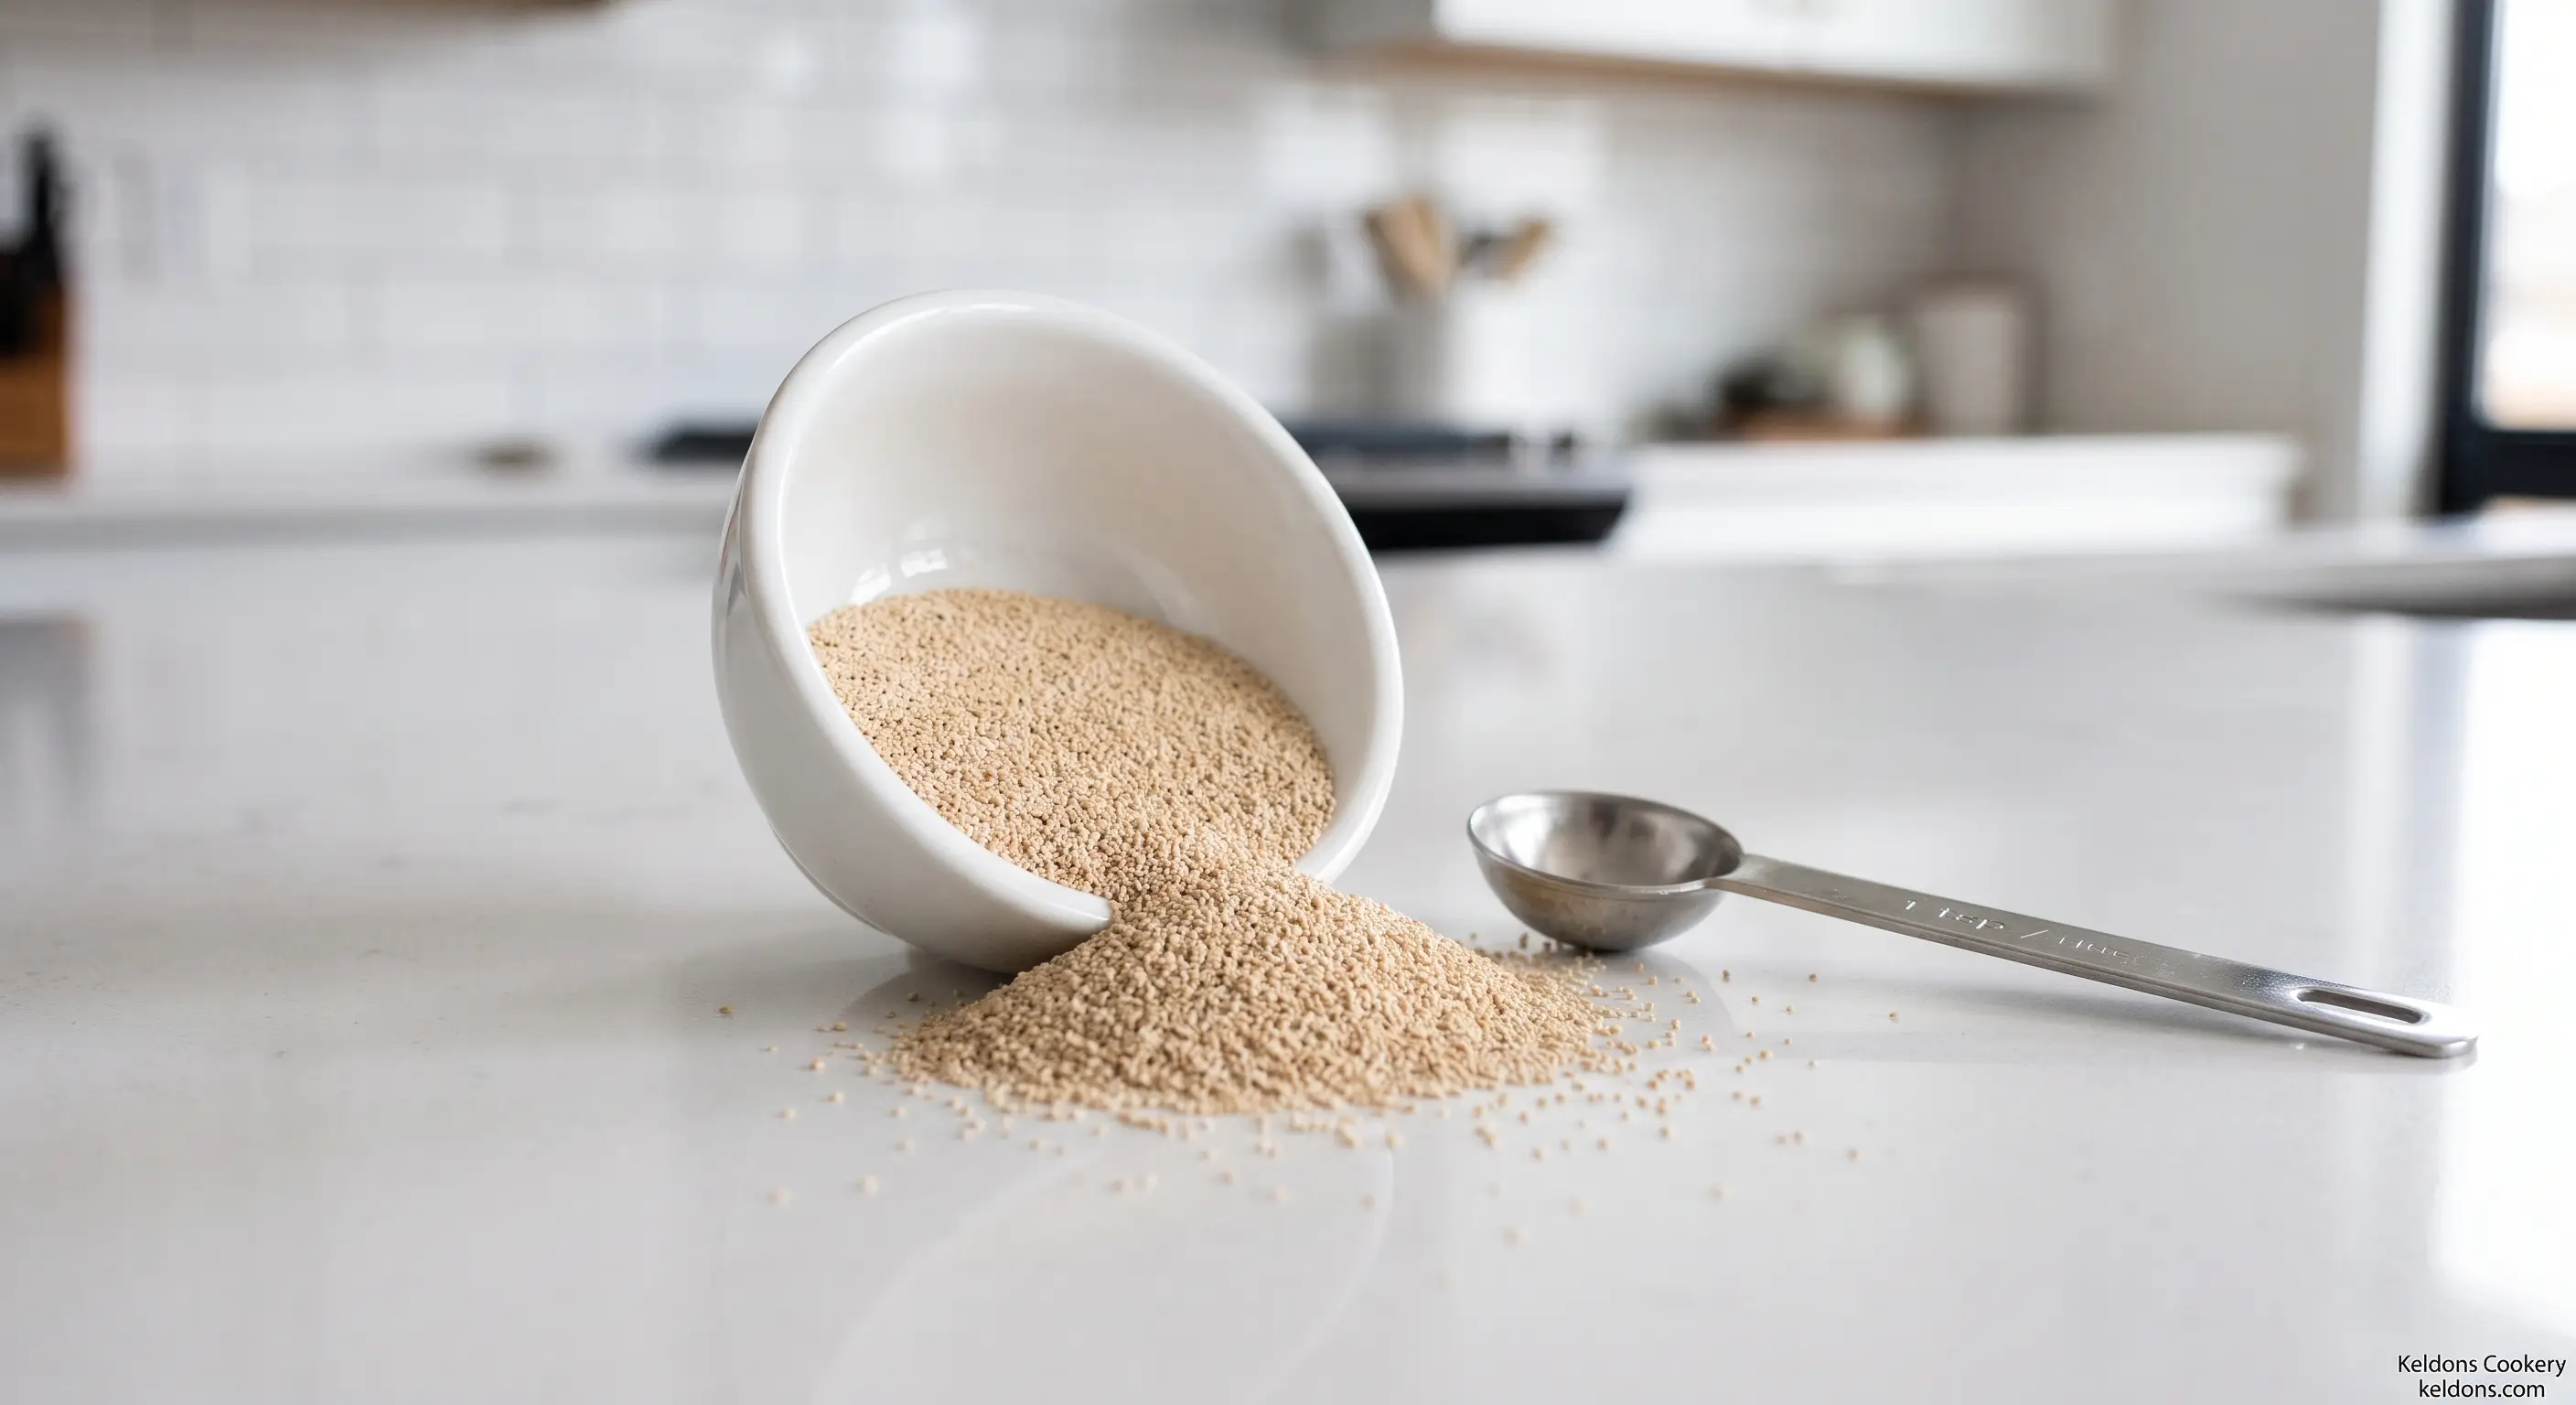
- Microscopic Porous Granules: Manufacturers extrude and dry this yeast into extra-fine, porous rods rather than thick beads, allowing liquid to penetrate immediately and wake up dormant cells right inside your mixing bowl.
- Single-Rise Efficiency: Specially selected strains of Saccharomyces cerevisiae multiply and ferment sugars rapidly, letting you bypass a first bulk rise and shape breads right after kneading for faster weeknight baking.
- Warm Liquid Activation: While you do not need to pre-soak the granules, adding liquid warmed between 120°F and 130°F triggers peak fermentation without killing the delicate yeast cells during the initial dough mix.
- Added Dough Conditioners: Most commercial packets include a tiny amount of ascorbic acid, or vitamin C, which strengthens gluten strands and helps your loaf hold its height during rapid expansion in the oven.
Quick Rise vs. Active Dry Yeast
- Direct Dry Mixing: Quick rise yeast blends straight into your flour and dry ingredients, whereas traditional active dry yeast features a thicker outer coating that must be dissolved in warm water first.
- Shorter Proofing Windows: Expect dough made with quick rise yeast to reach doubled size in roughly thirty to forty-five minutes, cutting nearly an hour from standard two-rise bread and cinnamon roll schedules.
- One-to-One Substitutions: You can swap quick rise yeast and active dry yeast in an exact one-to-one ratio by weight or volume, though you will need to adjust your proofing times and liquid temperatures accordingly.
- Best Recipe Pairings: Reach for quick rise yeast when making everyday sandwich loaves, soft dinner rolls, and weeknight pizza dough, but stick to active dry yeast for long, overnight cold-fermented artisan sourdough hybrids.
Advertisement
Essential Mixing & Proofing Tips
- Use an Instant-Read Thermometer: Check your water or milk temperature carefully before pouring; liquids below 120°F leave yeast sluggish, while anything above 138°F will permanently kill the organisms and ruin your rise.
- Keep Salt Separated Initially: Whisk the yeast into half the flour before adding salt, because direct contact with concentrated salt draws moisture out of yeast cells and slows down their fermentation power.
- Create a Draft-Free Spot: Place covered dough to rise inside a turned-off oven with the interior light switched on, maintaining a steady, gentle warmth that encourages even expansion without drying out the surface.
- Watch the Dough, Not the Clock: Kitchen humidity and room temperature change fermentation speeds, so judge doneness by pressing two fingers into the dough; if the indentation remains slowly, it is ready to bake.
Smart Kitchen Substitutions
- Active Dry Yeast Swap: Use an exact equal measure of active dry yeast, dissolving it first in 110°F water with a pinch of sugar for ten minutes until foamy before combining with your remaining recipe ingredients.
- Fresh Cake Yeast Conversion: Replace one quarter-ounce packet of quick rise yeast with roughly two-thirds of an ounce of crumbled fresh cake yeast, dissolving the soft block into warm liquid before adding flour.
- Emergency Baking Powder Fix: When completely out of yeast, substitute one part baking powder and one part lemon juice or buttermilk for quick flatbreads and biscuits, understanding you will lose authentic yeasty flavor.
- Sourdough Starter Alternative: Swap one packet of quick rise yeast for one cup of active, bubbly sourdough starter, reducing the recipe's liquid and flour by half a cup each and allowing several hours for a natural rise.
Advertisement
Storage & Shelf Life Rules
- Unopened Pantry Storage: Keep sealed foil packets and unopened glass jars in a cool, dark cupboard away from stoves and dishwashers, where stable temperatures preserve dormant yeast activity until the printed expiration date.
- Refrigerate Opened Jars: Once you break the freshness seal on a yeast jar, screw the lid on tightly and store it inside your refrigerator to slow oxidation and maintain full leavening strength for up to four months.
- Freeze for Long-Term Keeping: Transfer bulk yeast into an airtight freezer container and store it in the freezer for over a year; you can measure granules straight from frozen without thawing before mixing into flour.
- Avoid Moisture Contamination: Always dip a completely dry measuring spoon into your yeast jar, because trapped water droplets waking up dormant cells early will cause clumping and rapidly ruin the entire batch.
Advertisement
A Rise to the Occasion
Quick rise yeast proves that great homemade bread does not require clearing your entire weekend schedule. By skipping the traditional pre-soak and shaving hours off proofing times, this reliable pantry staple turns Tuesday nights into fresh-from-the-oven dinner roll nights. Keep a few packets tucked in the fridge, mind your thermometer, and watch simple flour and water puff into golden perfection. When your kitchen smells like a neighborhood bakery in under two hours, everybody wins.Advertisement
Quick Picks
Advertisement
Advertisement
Handy Tip
If your honey has crystallized or is too thick, place the honey container in a bowl of warm water for a few minutes to loosen it up without losing its natural properties. This gentle method returns honey to its smooth texture, making it easy to pour or spread and enjoy.
Featured Offering
Baby Spinach And Crispy Garlic
Recipe of: United States

Filed Under: Vegetable
Prep Method: Wok
Made with: 6 Ingredients
Advertisement
Keldons Cookery © 1998 - 2026 All rights Reserved | Secured with SSL
Homemade Goodness. Cook what you eat. Love what you cook!